

Since the 20th week of my pregnancy it is hard to find a comfortable sleeping position. My bump is getting bigger and I just can't sleep well. Now at the 21'th week I've got lower backpain too. I found out a supporting pillow might help.
There are maternity support pillows out there which are here in the Netherlands usually expensive. There are cheaper versions, which are shorter, have less filling, but I wanted a larger sized pillow which would give more support. A support pillow is great if you suffer from lower back pain or leg pain!
- types of support pillows:
You have the shorter, usually donut-shaped feeding or nursing pillows and the larger sized 'body pillows' or maternity sleeping support pillows'. They can be both slightly curved (candy-cane shaped) or just plain, tubular with either cuved or just straight ends. You can 'cuddle' the pillow and tuck it between the knees which reduces the stress on the back and neck. Of course, it can be used as a feeding cushion too. Both are quite expensive, and you often need to buy extra covers, so you can change them regularly.
- type of fillings:
- one with polyester fibers which is usually cheaper, gives more support and you can throw it in the washing machine if needed.
my diy version:

The standard size of the larger support pillows is about 190 cm long and 40 cm wide. The IKEA pillows are 60x70 cm large. I decided to use 3 pillows for my project. (I always can add more if the fiber filling collapses over time.)
My pillow is straight but you can pre-shape yours as you want, like a slightly curved banana. The filling remains the same.
edit:
I love, love, love this pillow! Can't imagine sleeping without it anymore. The only change I made after a week or 3 is to shorten the cover by about 10 inches in the length. The filling has got compacter as expected.
edit:
at week 37 of pregnancy:
I still love it! It's like the 3 of us in bed, but (still) can't imagine sleeping without it anymore!!! It's been in the washing machine and works great. Because of the shifting of the filling there is a place for my growing bump and it's nice and thick to give support for my legs.
material:
- 3 of the cheapest pillows from IKEA (Gosa Slan 1.99 per piece)
- an old sheath for the (inner) cover
- sewing machine
costs:
5.97 euro's!
steps:
1. Attach 3 pillows in a row, by an overlap of about 4 in (=10 cm). Just pin and sew the sides:


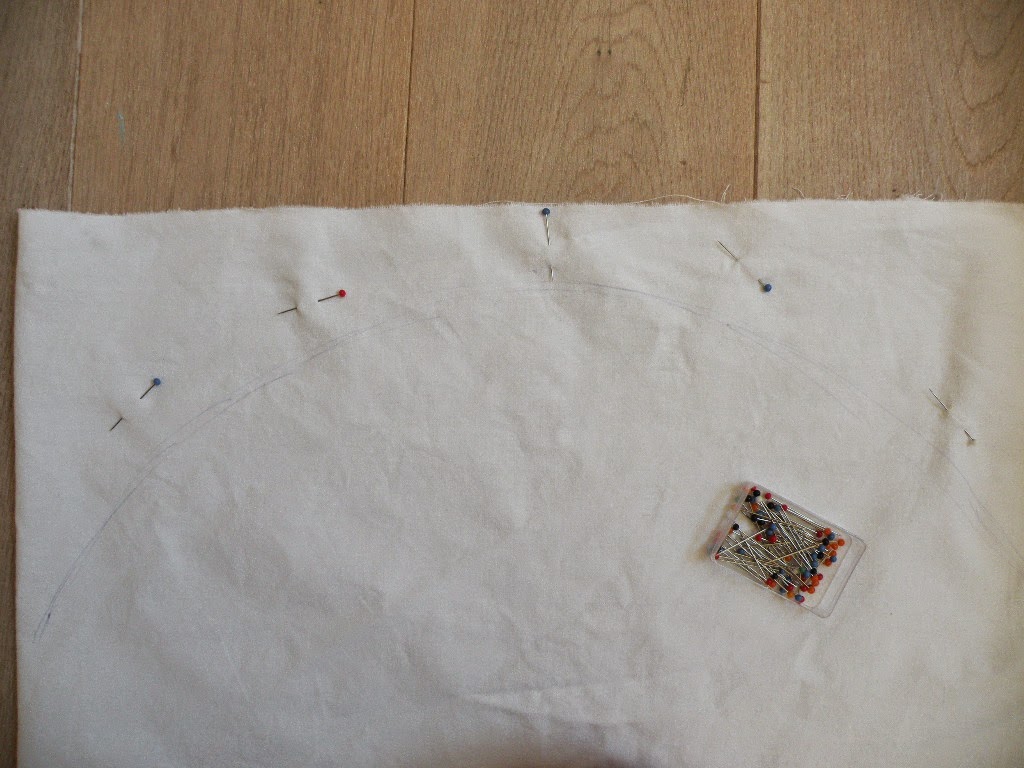
2. Make your cover from an old sheath. The cover is a bit tighter which squeezes the pillow filling to make it firmer. Measure the length, it will be about 170 cm and for the width take about 100 cm. Fold and pin:

4. Sew together ends and the side, leave about 30 cm open in the middle of the seam. You can sew the ends straight or curved, as you like. Mine is slightly curved. I did this freehand but you can measure it out if you like:
5. Put your filling into the cover and test! If you aren't comfortable with the thickness of your pillow you can add more stuffing.
6. Close the opening (either by hand or with your sewing machine) I did a very quick hand-sewn seaming. If needed I can open it up and add more filling:

6. You can make a changeable outer cover with the same dimensions from a fancy fabric, either cotton or velours to your liking. Leave the opening in the middle longer and insert a zipper instead of closing it.
Sleep well!
No comments:
Post a Comment